# Flarum Configuration
Blessing Skin provides an OAuth Server, so we've written a Flarum extension. Using with this extension, Flarum will be an OAuth client and fetch user data from Blessing Skin.
# Create an OAuth app
We need to create an OAuth app in Blessing Skin first. Click "Advanced" then click "OAuth2 Apps", and we can see a OAuth2 applications list.
Can't find this entry?
This menu item may be hidden by administrators, so you can contact with them. If you're an administrator, disable the "Hide 'Advanced' Menu" plugin temporarily. Once you've configured it, re-enable this plugin.
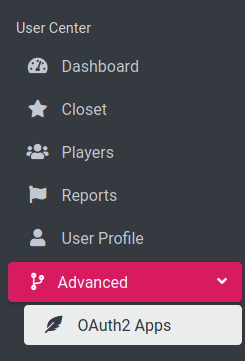
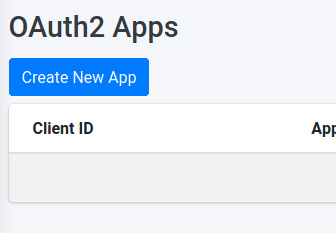
Then, click the "Create New App" button:
Fill in the form like below:
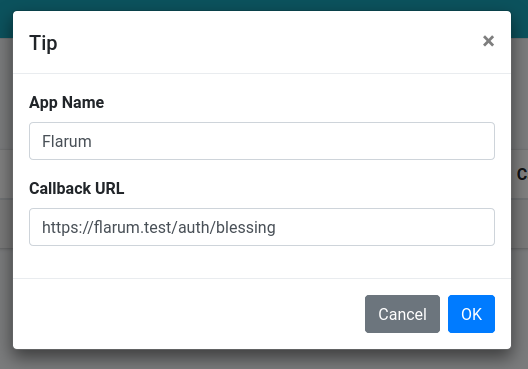
The "App Name" will be shown when asking users to authorize. As for "Callback URL", please change it according to your domain name of your Blessing Skin, but its "pathname" must be /auth/blessing.
New app will be shown after you submitted it:

So far, we've finished for configuring Blessing Skin.
# Install and enable Flarum extension
Go to the root directory of Flaurm and run this command:
composer require blessing/flarum-oauth-client
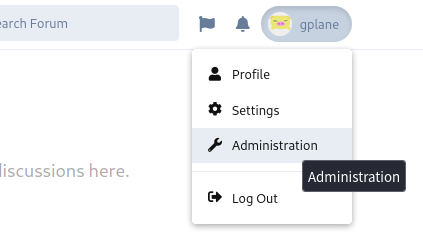
Then, go to "Administration" and enable the "Blessing Skin Login" extension:

# Configure Flarum extension
Once you enabled this extension, a modal dialog will be popped up:
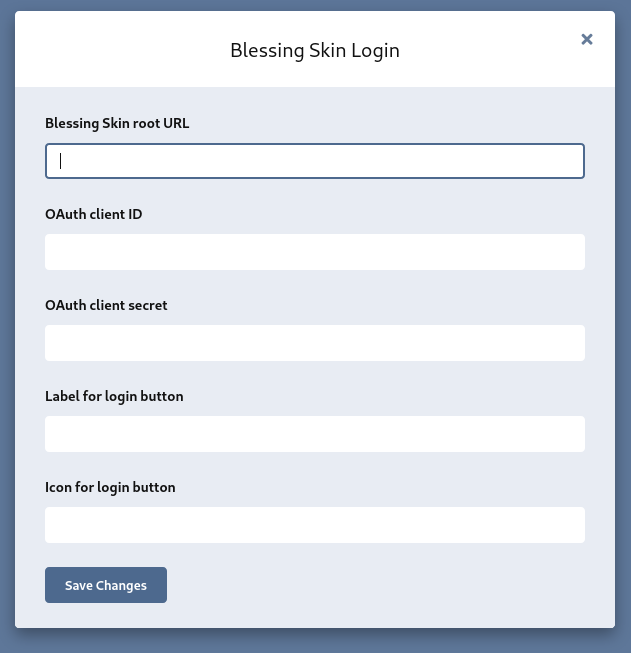
Fill in this form. Here, we will state several items of the form above:
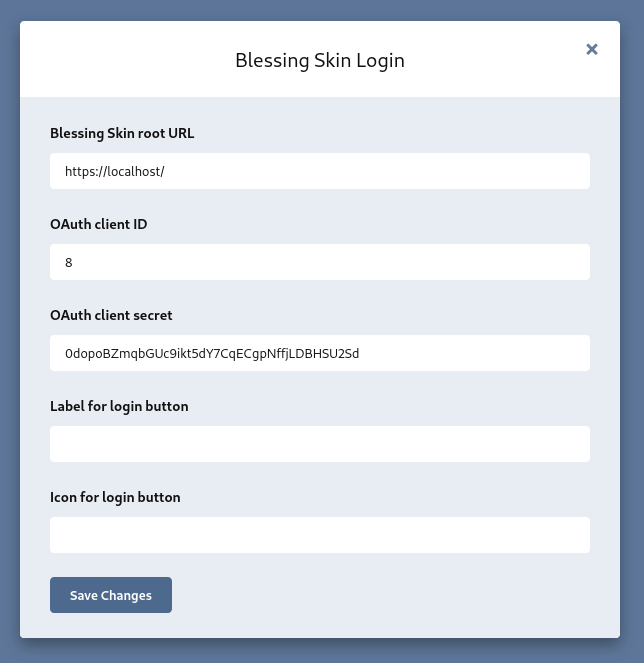
"Blessing Skin root URL": The root URL of your Blessing Skin. For example, we're using
https://localhost/in this tutorial."OAuth client ID": The ID of the OAuth app you created in Blessing Skin. This ID can be found at OAuth applications list of Blessing Skin. For example, its value is
8in this tutorial."OAuth client secret": A randomly generated string of the OAuth app you created in Blessing Skin. This secret can be found at OAuth applications list of Blessing Skin.
"Label for login button": This is optional. Its default value is "Login with Blessing Skin".
"Icon for login button": This is optional. Its value must be the class name of a Font Awesome icon.
The form can be filled in like this:
# Log in
When users are going to log in, there will be an additional button:
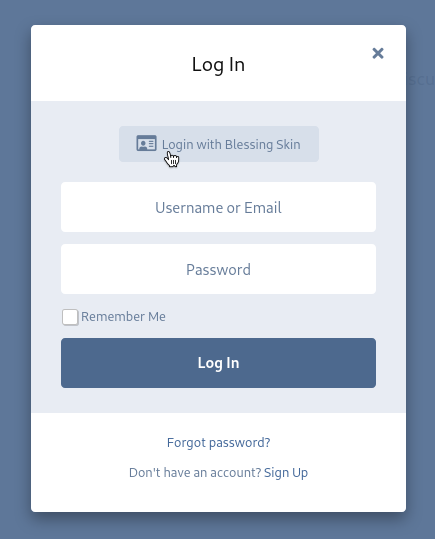
Click that button (text and icon of that button can be changed at settings), and users can use their existing accounts to log in Flarum.
If a user visits this for the first time, he/she will be asked for authorizing:
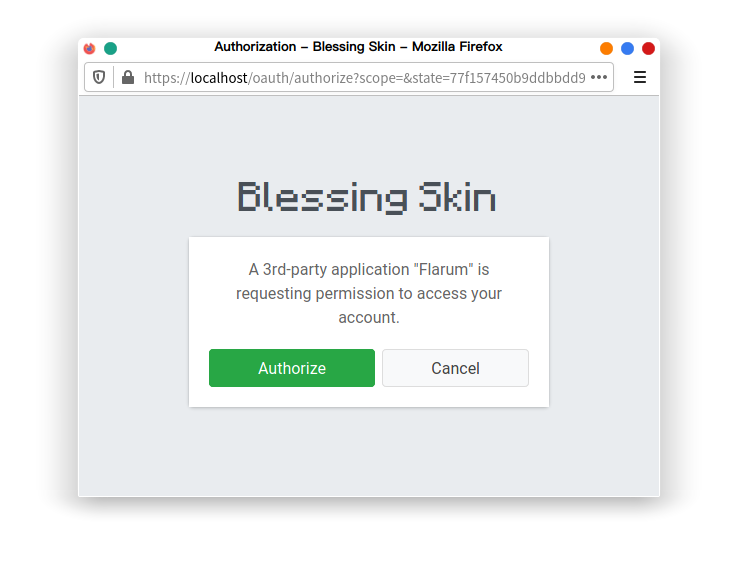
Click "Authorize", and Flarum will be able to fetch user's email and nickname.
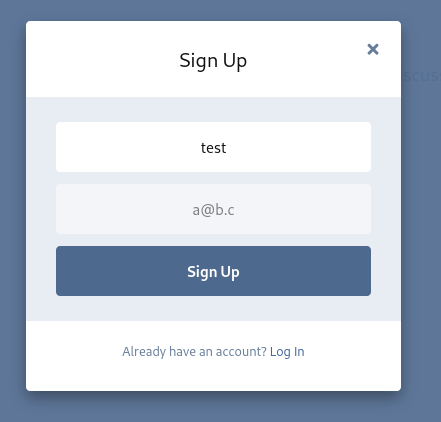
Note that after authorized, Flarum will not create a new user and log in for that user. Instead, user will be redirected to a simple "Sign Up" form:
WARNING
Nickname can be duplicated in Blessing Skin. However, username must be unique in Flarum, so you may need to change your username.
Click the "Sign Up" button, you've logged in Flarum with your Blessing Skin account.
